There’s hardly a driver in Hamilton Ontario who has never been through that distressing episode when a tire (or two, god forbid) gets a little iron buddy stuck in it. The buddy gets in, and the air starts getting out. As bad luck would have it, it usually happens when you’re a long way from civilization. As if nails and screws and all kinds of bolts were raining from the sky and falling right to the streets.
Note: You can bring your car anytime to our auto tire service shop in Hamilton if you are not sure how to fix the tire problem. Our professional licensed mechanics can help.
Many Hamilton auto mechanics would shudder at the thought of plugging an injured tire without patching it from the inside, but sometimes it’s the only solution if you want to actually make it to the mechanic. (That being said, you should take your car to a doctor as soon as possible.) I’m sure you’ve had this motorist friend who claims that he’s been ridin’ for years with a nail in his tire, without losing any air. Don’t mind stories such as this, as you want to make sure that everything is fine from the inside, as well as on the surface of your tire.
Roadside Car Tire Repair Safety
Don’t assume everything you need to repair a punctured tire is in the car; check them before you leave. What do you need to think of to be safe on the roadside?
Summer. Switch on the car’s hazard lights and look for a safe place to pull over where the ground is flat, and you can see traffic coming and going from a distance. Place a warning light or reflective safety triangles at a safe distance behind your vehicle to warn oncoming cars. If people travel with you, make sure they stand on the side of the car away from the road.
Winter. When it is snowing and icy winds cut through you, it will be really hard to fix a punctured tire on the road. Transport Canada has a few suggestions to make your life easier. Install winter tires that carry the peaked mountain with a snowflake symbol, designed for severe snow conditions.
Prepare for your trip by telling someone what route you are taking, when you expect to leave, and when you hope to arrive. Ensure your phone is fully charged, and always keep the fuel tank at least half full. Carry winter supplies and an emergency kit.
Now that you know how to be safe on the side of the road, how can you repair a car tire puncture so far away from your favorite Hamilton car mechanic?
1) Inflate the tire.
There’s nothing you can do with a flat and squashed tire. That’s why the first step is to inflate it. The second, of course, is to lift the vehicle and unscrew the tire to get it off. You’ll need an air pump, a jack, and pliers, but those usually come with the car and will be available if you check before going on the road.
2) Use some soapy water to find the leak.
Just spray the tire. You can really soak it and then look for the bubbles or foam to show you where the leak is. You can use tap water of course, but it will do the trick best when mixed with some soap.
You’ll also want to check the rim for corrosion. Maybe your tire loses air not because of a foreign object that’s stuck in it, but because the rim is corroded, so the tire doesn’t catch up well with it. Then you would have to remove the tire from the rim, clean the latter and put everything back together.
3) If the leak is on the tire’s shoulder part or sidewall, stop reading this text…
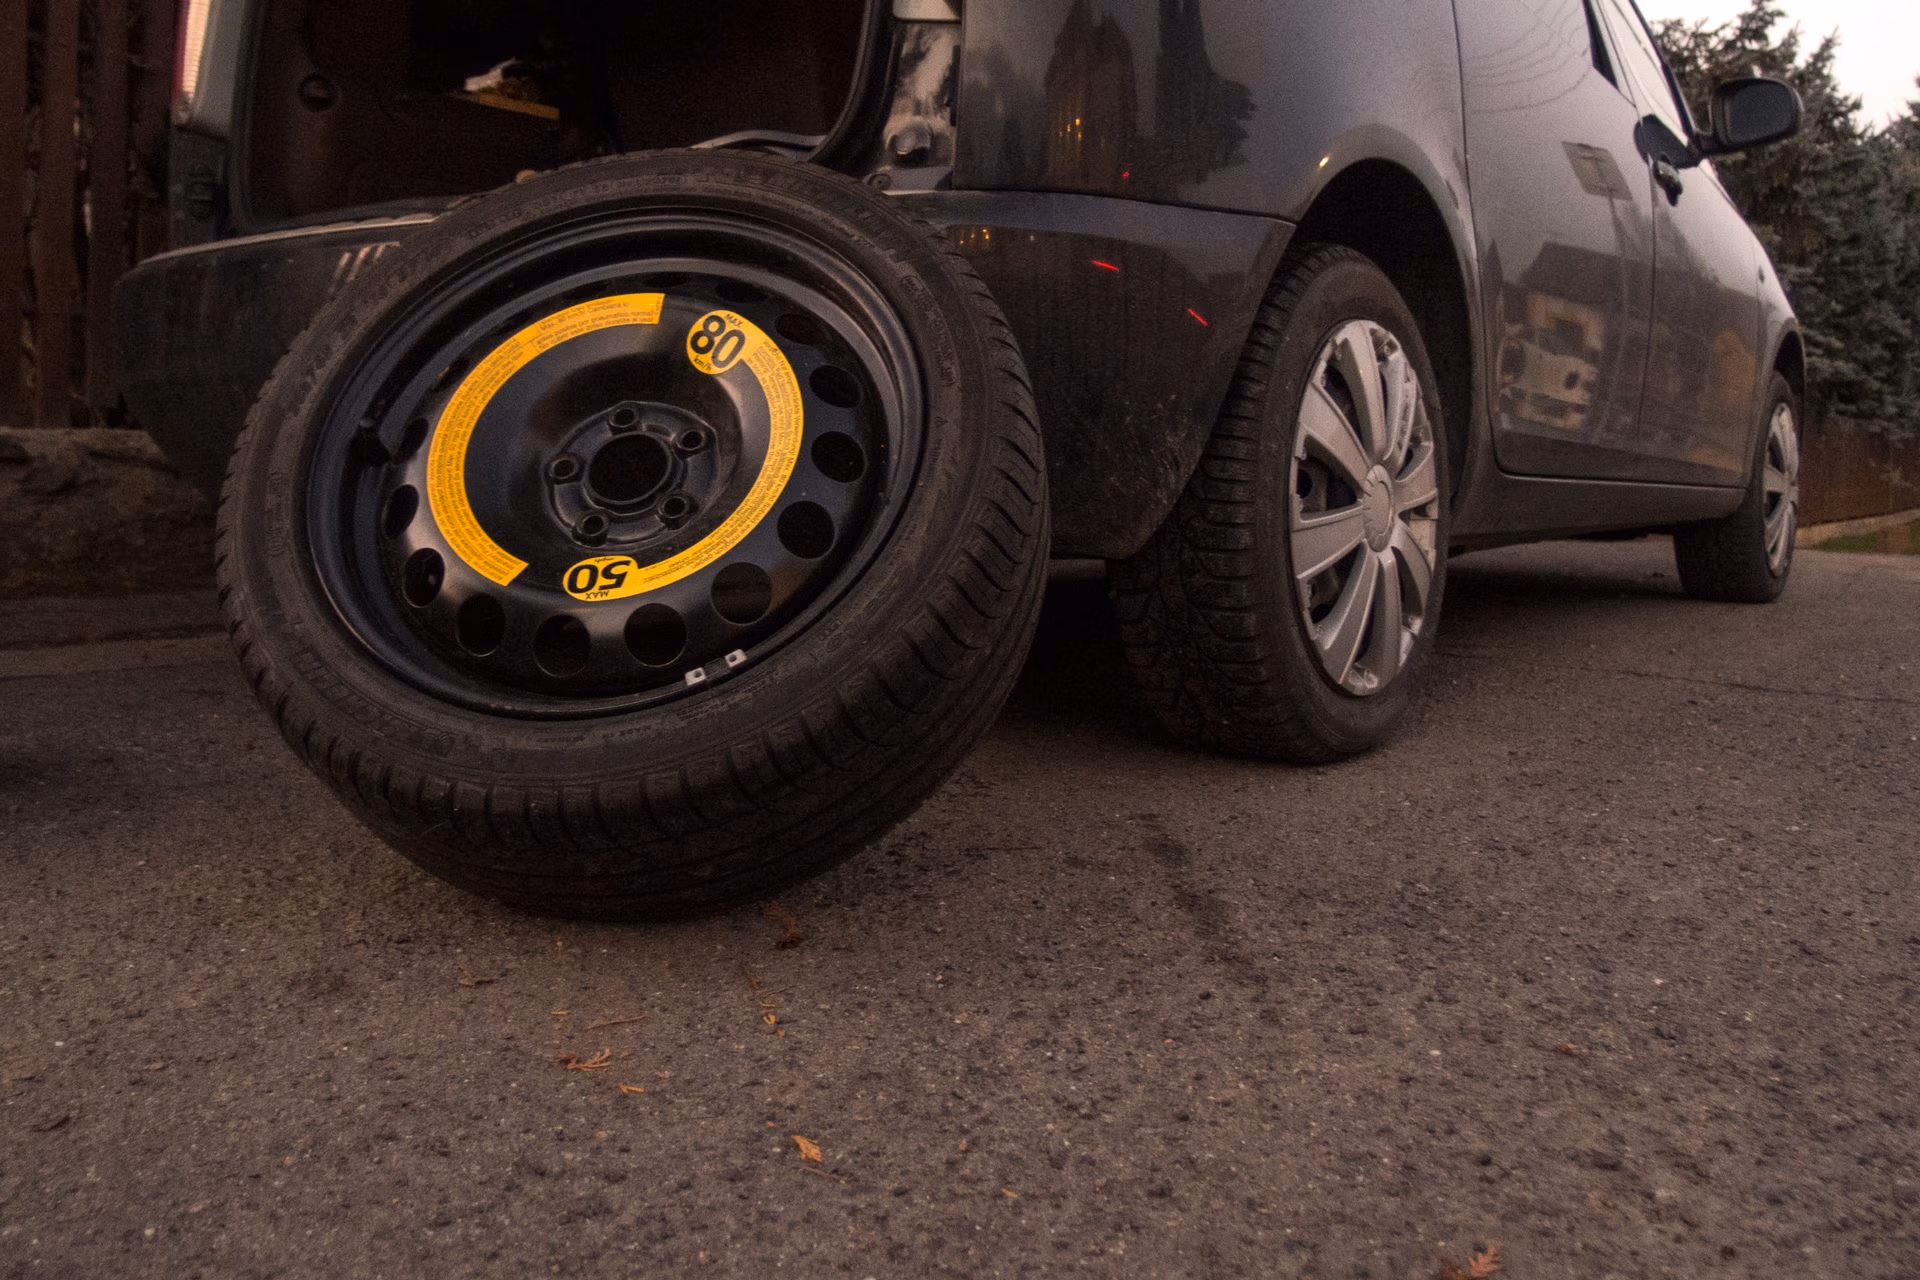
… And just replace the tire. If you don’t have a spare one and you’re in the middle of nowhere, find a tow service. That’s what they’re for.
Why is that so? The tire crown, which is the tread area, is the only repairable part. This is the First Commandment of manual tire repairing. If the sidewall or the shoulder is damaged, you don’t want to repair it.
There’s one more undesirable outcome. As you know, nails come in boxes. Somebody might have dropped the entire box, so you could have more than one puncture in your tire. If those punctures are too close to each other, give it up and call the mechanic.
4) Take the intruder out and prepare the hole
You can get rid of the nail by using pliers, screwdrivers, wire cutters, or whatever you’ve got there. Don’t expect this to be easy, though, especially if you’re a lady…
Once the spike’s out of the system, ream the hole, so there won’t be any remnants left. It has to be smooth. The reamer is usually a part of the plug kit, which will cost you just a few dollars. Some vulcanizing glue would add to the fun.
5) Finally, seal the hole with a plug
You’ll do this with the plug pusher from your kit. It also requires quite a bit of physical strength, but you’ll be able to do it if you use all of your body as a lever. This also calls for some vulcanizing cement, so you’ll want to leave it for 15 minutes to get dry. Cut the top of the plug, check the tire again for leakage, and this is all that’s needed.
After you take care of this situation on your own, don’t continue driving like this. You need to have your trusted mechanic take a look at your vehicle to make sure it’s still in good condition.
Tire Service In Hamilton
Let CRS Automotive Hamilton be the trusted mechanic you bring your car to for a tire service and other auto repair services. We know how to fix a punctured tire and so much more. Tires, just like other vehicle parts, have a limited lifespan and need to be changed regularly, depending on your driving habits and how you use the car. Underperforming tires place you and your loved ones at risk.
Are you a salesperson that is on the road a lot? You might be more exposed to road hazards while wear and tear of the tire tread happens faster. Do you use the car to transport the kids to school and other activities? The car tires need to be checked every time it comes for a service.
At CRS Automotive, our four basic tire services are:
Rim repair. Rims might become run down and deformed over time.
Tire rotation. Rotation spreads the wearing down of tires evenly over all four, increasing their lifespan.
Tire balance. Tire rotation should always be followed by tire balancing to prevent vibrations, suspension damage, and support even wear and tear of treads.
Flat tire services. As previously said, we know how to fix a punctured tire and want you to be safe, so bring your car and the spare tire for us to check before going on the road.
Let us be that for you! Come to our repair shop in Hamilton today and we will take care of your car like our own.
We are located only 5 min driving North of St. Peter’s Hospital – Hamilton Health Sciences and 6 min driving North of Gage Park.